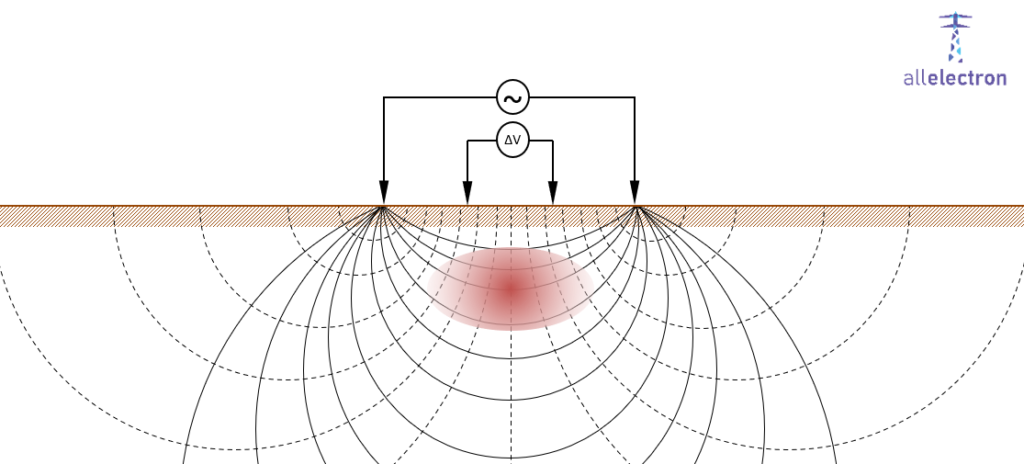
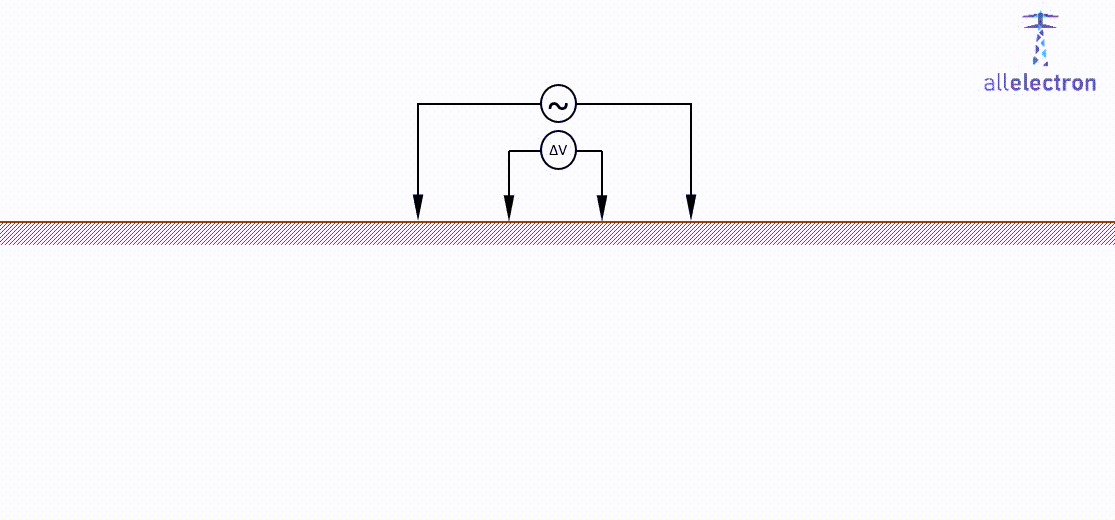
Multiple four-electrode methods can be used to determine the soil resistivity. One of the most commonly applied methods is the Wenner measurement. This measurement consists of four equally spaced surface probes, where the outer electrodes are used to inject the current. The inner electrodes serve as probes to measure the soil potential. The ratio between the current and the voltage serves as input to calculate the apparent soil resistivity. The electrode spacing is related to the depth (and length) of the soil area under review. By varying the electrode spacing, currents are forced to go deeper into the ground and they will cover a wider area. This way information at different depths is obtained. Refer to the animation below for a graphical example of what this looks like. Based on this information a multi layer soil model can be established.

This approach is both simple and accurate, and is therefore widely used for substation and overhead line engineering. However, moving (all of) the electrodes is time consuming, especially in relation to the Schlumberger method.
This is even more true if larger distances need to be covered. Normally the earthing provisions of a substation or transmission line tower reach several meters into the ground. In some cases this can go up to 20 or 30 meters. That would then be the depth that should be, at minimum, covered by the Wenner measurement. Walking and communicating over these distances may take quite some time.
Speed up the measurement
Lead handling
This might be a no brainer, but it’s best to roll out the measurement leads completely before you start measuring. Next to the question if the setup will be accurate with rolled up leads, it will cost you a lot of extra time if you need to increase the available lead length before every electrode movement. Also it might be the case that the leads get tangled up, and you need to tidy up the measurement setup before a measurement can be performed. Save yourself from these possible frustrations and take the time to roll out the leads.
Electrode handling
As mentioned, moving four electrodes to change the spacing is time consuming, especially if this is done over larger distances. However, you don’t need to move four electrodes per measurement. It would save you quite some time to assign one of the voltage probe electrodes as the fixed point of the measurement profile – this is the electrode where you’ll place and operate your measurement equipment during the measurement. Then you only need to move three electrodes at a time.
Electrode spacing selection
Depending on the purpose of the soil model for which the measurements are performed, the electrode spacings shall be determined. For a substation earthing grid the main amount of earthing provisions is placed in the upper part of the soil, and the application of vertical electrodes may be limited. For transmission line tower earthing the interest may go out to also the deeper layers. Therefore the measurement approach may depend on the actual geometry of the situation under study. It is normally quite interesting to investigate the top layer in detail. It is proposed that multiple measurements are taken with small electrode spacings, these are not taking up mucht time. A measurement at a spacing equal to the largest diagonal of the earthing system under review is also proposed. This way it is ensured that the deeper layers are also adequately included in the soil model.
A leapfrog technique is proposed, using doubling of the electrode spacing in every step. In this technique, only two electrodes per step are moved, which means that the inner (voltage probe) electrodes become the outer (current injection) electrode as the electrode spacing increases and vice versa. For this you’ll need to reconnect the leads in every step. To keep the overview, it is best to switch over on the electrode side of the leads.
Note in the animation that the electrodes also vary in depth. On this page you can read why: https://www.allelectron.com/how-deep-do-electrodes-go-into-the-earth/.
| Spacing (m) – increasing | Spacing (m) – decreasing |
| 0.25 | 80 |
| 0.5 | 40 |
| 1 | 20 |
| 2 | 10 |
| 4 | 5 |
| 8 | 2.5 |
| 16 | 1.25 |
| 32 | |
| 64 |
Other tips and tricks
Using a non-conductive measurement tape will make your life a lot easier during the measurements. Measurement tapes of 30 to 50 meters on a reel are are available.
If measurements fail at the larger distances, you might want to add extra electrodes in order to inject the current. Pouring water on the current electrodes may also be very helpful.
For large distances, you may want to consider walkie-talkies for communication. Even in good weather conditions this may save you a lot of communication troubles.
Lean more in our online course on earthing.